Hi! I’m Rosalind, the newest member of Render’s Growth Team. A former on-call systems engineer, I somehow fell down the Developer Marketing rabbit hole through stints working on DevOps and open source projects for Puppet, Armory, and the Continuous Delivery Foundation. I have a background in education, and I love working with developers learning to solve problems in new ways, with new tools. This often requires me to do some learning myself 🙃
Introducing "Deploy To Render"
I’m currently getting up and running with Render. Luckily, getting new users started with very little friction is core to our mission, and it shows. One of my biggest challenges in helping to maintain and grow the Spinnaker project was the friction around getting started with it. New users and potential contributors often had a difficult time with operations or simply with deploying Spinnaker for the first time to check it out. They became frustrated, and they moved on. This made my job hard.
I think that’s why, for my very first project here, I gravitated towards playing with Render’s awesome 1-click deploy feature, which takes a few minutes to learn and use successfully. Setting up a Deploy to Render button also taps into our (expanding) infrastructure-as-code functionality, and that’s my jam.
I get excited about use cases for Deploy to Render buttons:
- Enablement! Remove institutional/project knowledge as a barrier to entry. Got an OSS project? Got new reports or colleagues who need to deploy services to become productive? Level the playing field.
- Testing & CI! Incorporate polished, simple, and complete deployments into your process so you’ll know everything is working and can quickly (or programmatically) demonstrate.
I have browser-based VSCode on the brain after reading David’s post about building hosted dev environments with VSCode, Tailscale, and Render. So, the first app I try deploying is OpenVSCode Server, a neat project Gitpod recently open-sourced that shares a browser-friendly implementation of VSCode with a simple upgrade path and deployment strategy. It lets folks run the latest VSCode version on a remote server, and access it from anywhere in a browser.

Creating a Dockerfile for GitPod OpenVSCode Server
Gitpod makes OpenVSCode Server easy to deploy in several ways, including by running it in a Docker container, which is the most Render-friendly approach. Given a stable Docker image in a public registry such as Docker Hub, it’s quick to deploy that image on Render. My first newbie challenge is figuring out exactly how.
GitPod’s instructions for running the server in a Docker container are:
I can’t wait for the day that this becomes ~1-click, and we can deploy registered images on Render in a single step. While we work on this part of our roadmap, there’s a simple workaround you can use in the meantime.
First, fork the project and add a basic Dockerfile to it that pulls the image you want to deploy:
Meet Blueprints and render.yaml
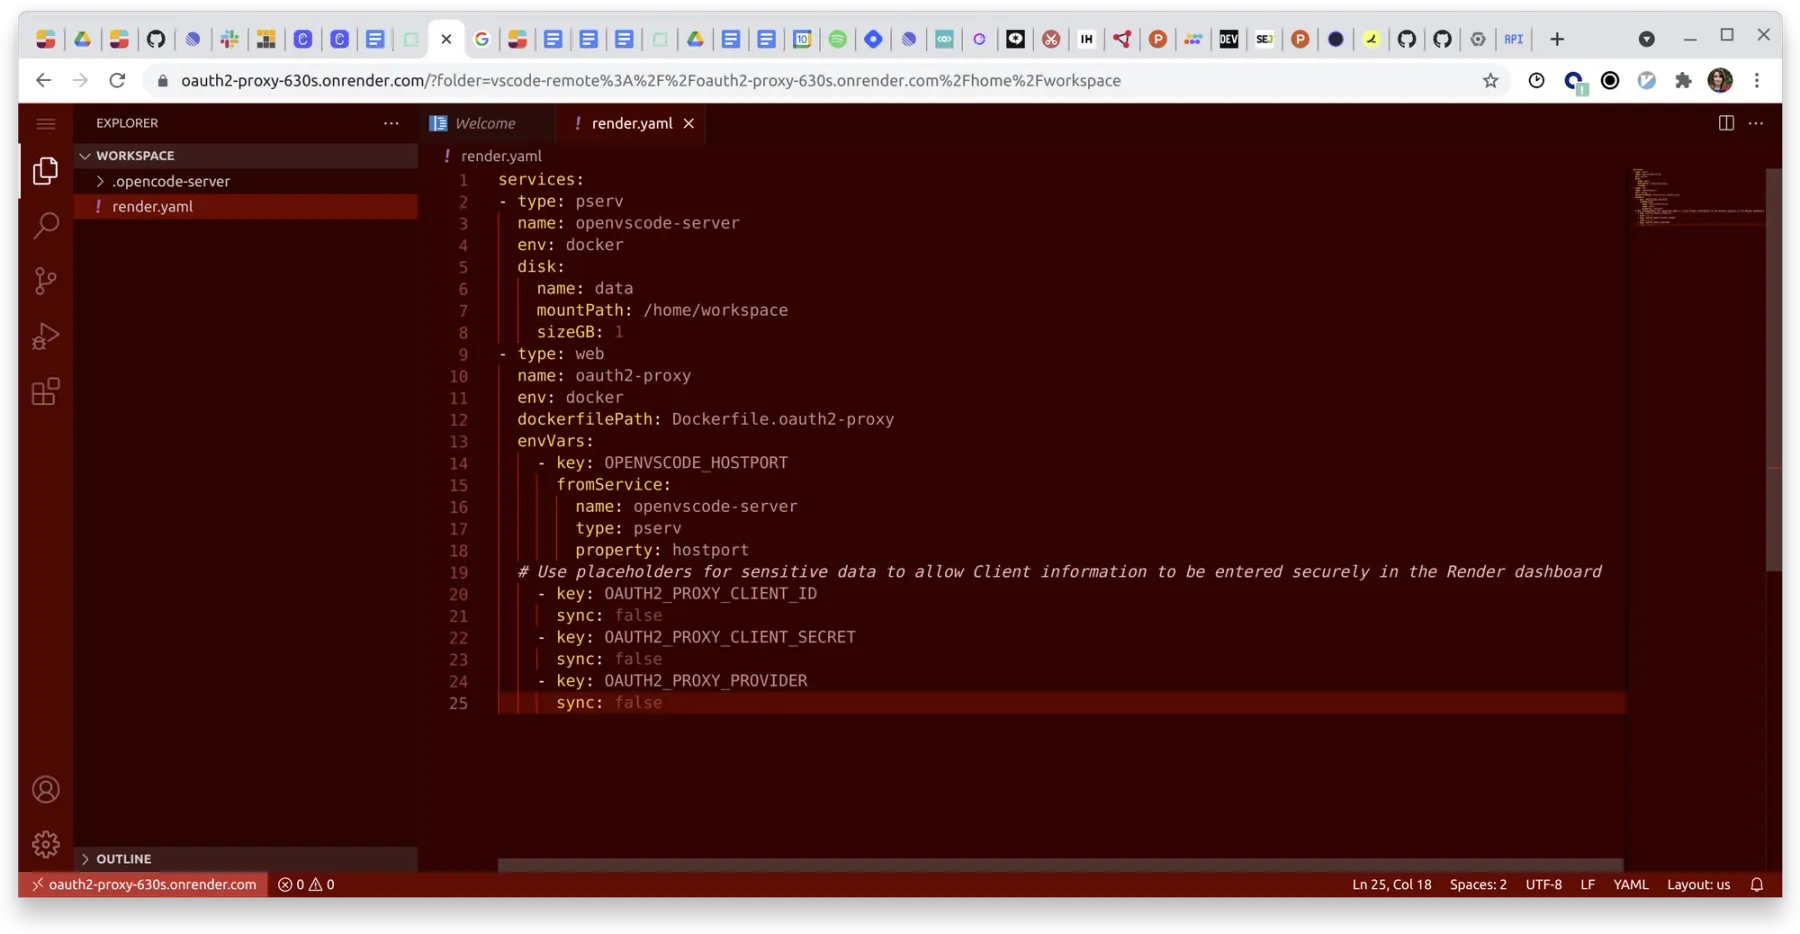
Next, meet render.yaml. A render.yaml is a Blueprint spec: it allows you to define environment variables, secrets, disks, build directories, start commands, healthchecks, deployment regions, and other configuration settings for your application without using a GUI. Since the docker run command in Gitpod’s OpenVSCode documentation mounts a volume, I need to add a volume mount to my Render service. I can easily add that in render.yaml:
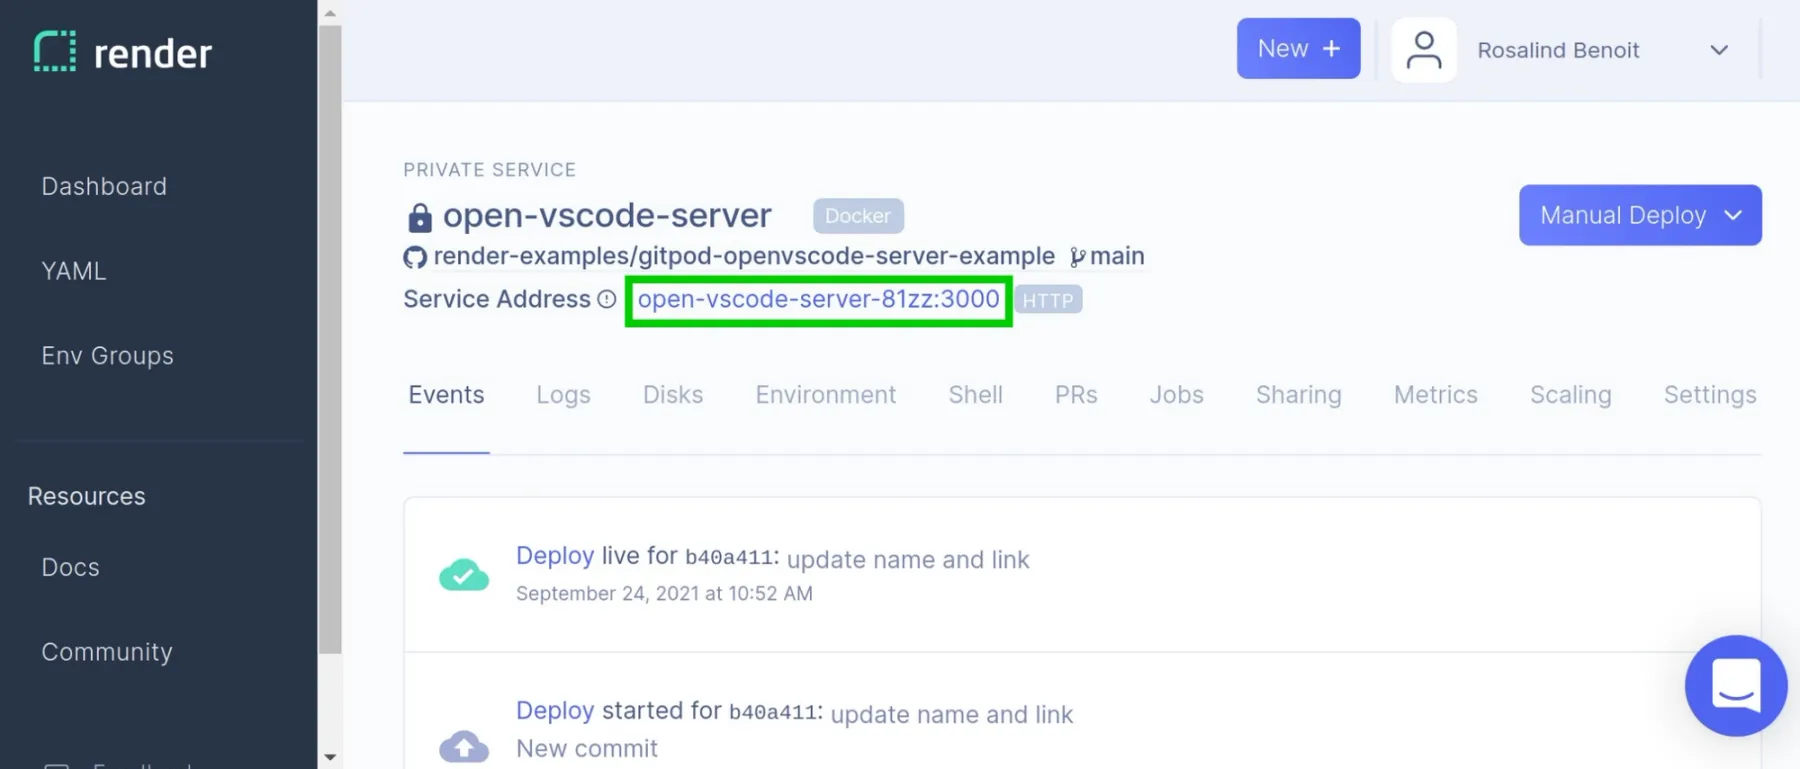
With my simple render.yaml and Dockerfile in place in the root directory of the cloned project, I am ready to deploy my new fork of OpenVSCode Server onto Render. I use the New > Blueprint drop-down to begin a new project, find the repository in the GitHub search, give the project a name, and that’s it. I click Apply and watch it deploy via the Events stream. When it’s ready, I can click on the public address from the service page in the Dashboard, and enter my nifty new VSCode environment.

Setting Up 1-Click Deploy
With this up and running, and a bit more confidence in my Render skills, I think, hmm, how can I make it ridiculously easy for anyone else who wants to use Render to check out this project? Sure, as long as my repo is public, anyone can use it to set the service up themselves, but only by consulting a guide (like this one : ) to make sure that all of the Docker settings and advanced features like disk mounting are configured correctly. I want to remove all of that overhead.
I thought setting up a Deploy to Render button would be more complicated, but it turns out I have already completed 90% of the effort. With render.yaml already in place, all I need to do is paste a single line of markdown into my README.
Phew! Check out my Deploy to Render button:

Next Steps: Authentication, and Beyond!
Now, a developer’s work is never done, and this is no exception. As David pointed out in his blog, “I don’t want to invest more in configuring my code-server instance until I figure out a way to make it secure.” Yeah, browser-based VSCode feels much less safe, and is much less useful as a tool for standardizing remote dev environments, without more security. So, my next challenge is to deploy an authentication service on Render to provide auth for my web services.
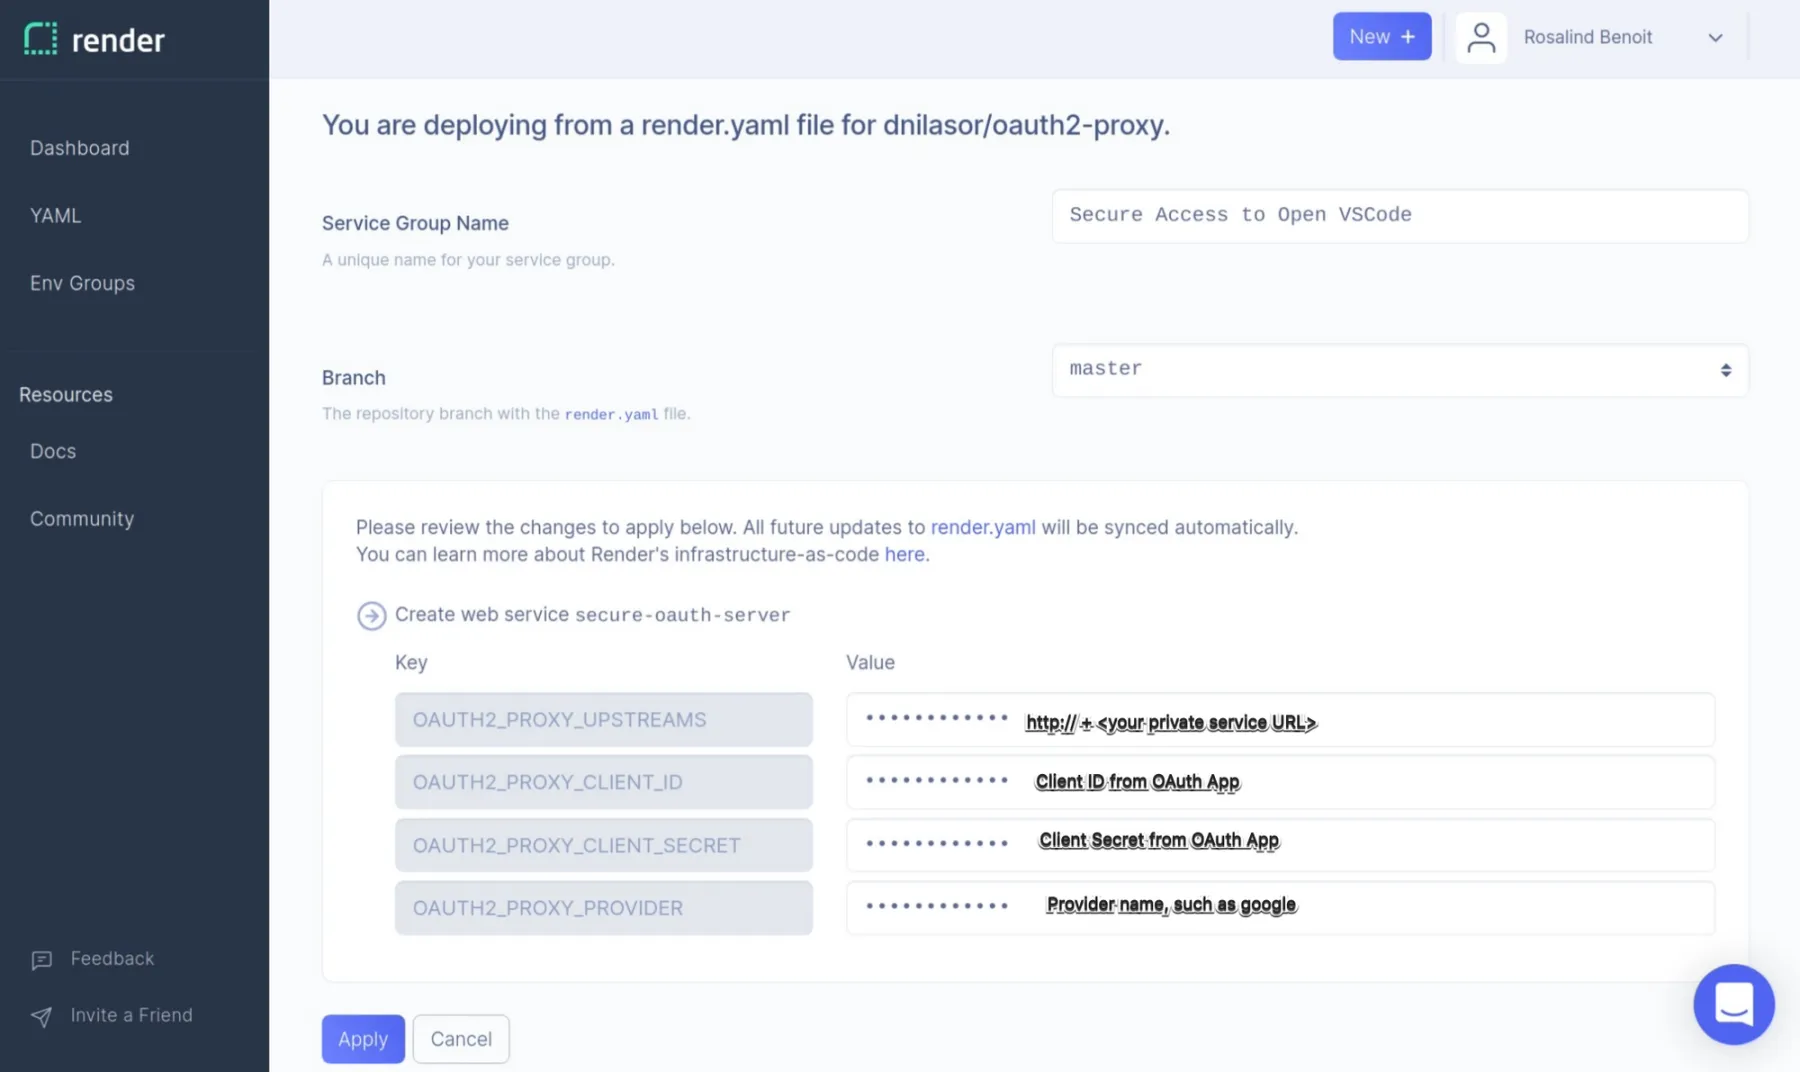
Another handy open source project, OAuth2-Proxy, is up to the task! To integrate the two projects in a secure environment, I venture further into using Blueprints. I learn to consolidate my infrastructure into a single render.yaml file, and to use the sync: false attribute when defining a key to allow users to securely provide their own secret values in the Render Dashboard at deploy time.

Check out the Deploy Secure Open VSCode with OAuth2-Proxy Guide now, and deploy it to Render yourself with this button:

Stay tuned to read more about other ways to add authentication to web services...in an upcoming blog post : )
Linux Lite
I’ll leave you with one final Deploy to Render adventure. A little background: I have chosen my entry to Render as the opportune time to return to my roots as a desktop user of Linux. While I have more recently administered RHEL systems and of course, used Unix as a developer, I have not used Linux as my primary desktop since high school. But Fedora Core 1-4 will always hold a special place in my heart as the playground on which I tried [and failed?] to become great at Linux. My style has always been lazy: I’m not a workstation-optimization junkie; I muddle through, doing just enough to make things workable. I’m psyched to be doing so again, on a delightful new brick of a ThinkPad P15 and Ubuntu 20.04. Especially since I have the support of Render’s UX, and can deploy changes to the cloud and use preview environments when messing with local configuration gives me a headache. Look for Tweets, StackOverflows, and general cries for help from me in the coming months as I refine my developer environment into something kickass, and weed through the occasional need to kill Gnome because my cursor has randomly turned into the screenshot-selector crosshairs and won’t...curse [restarts X11 server].
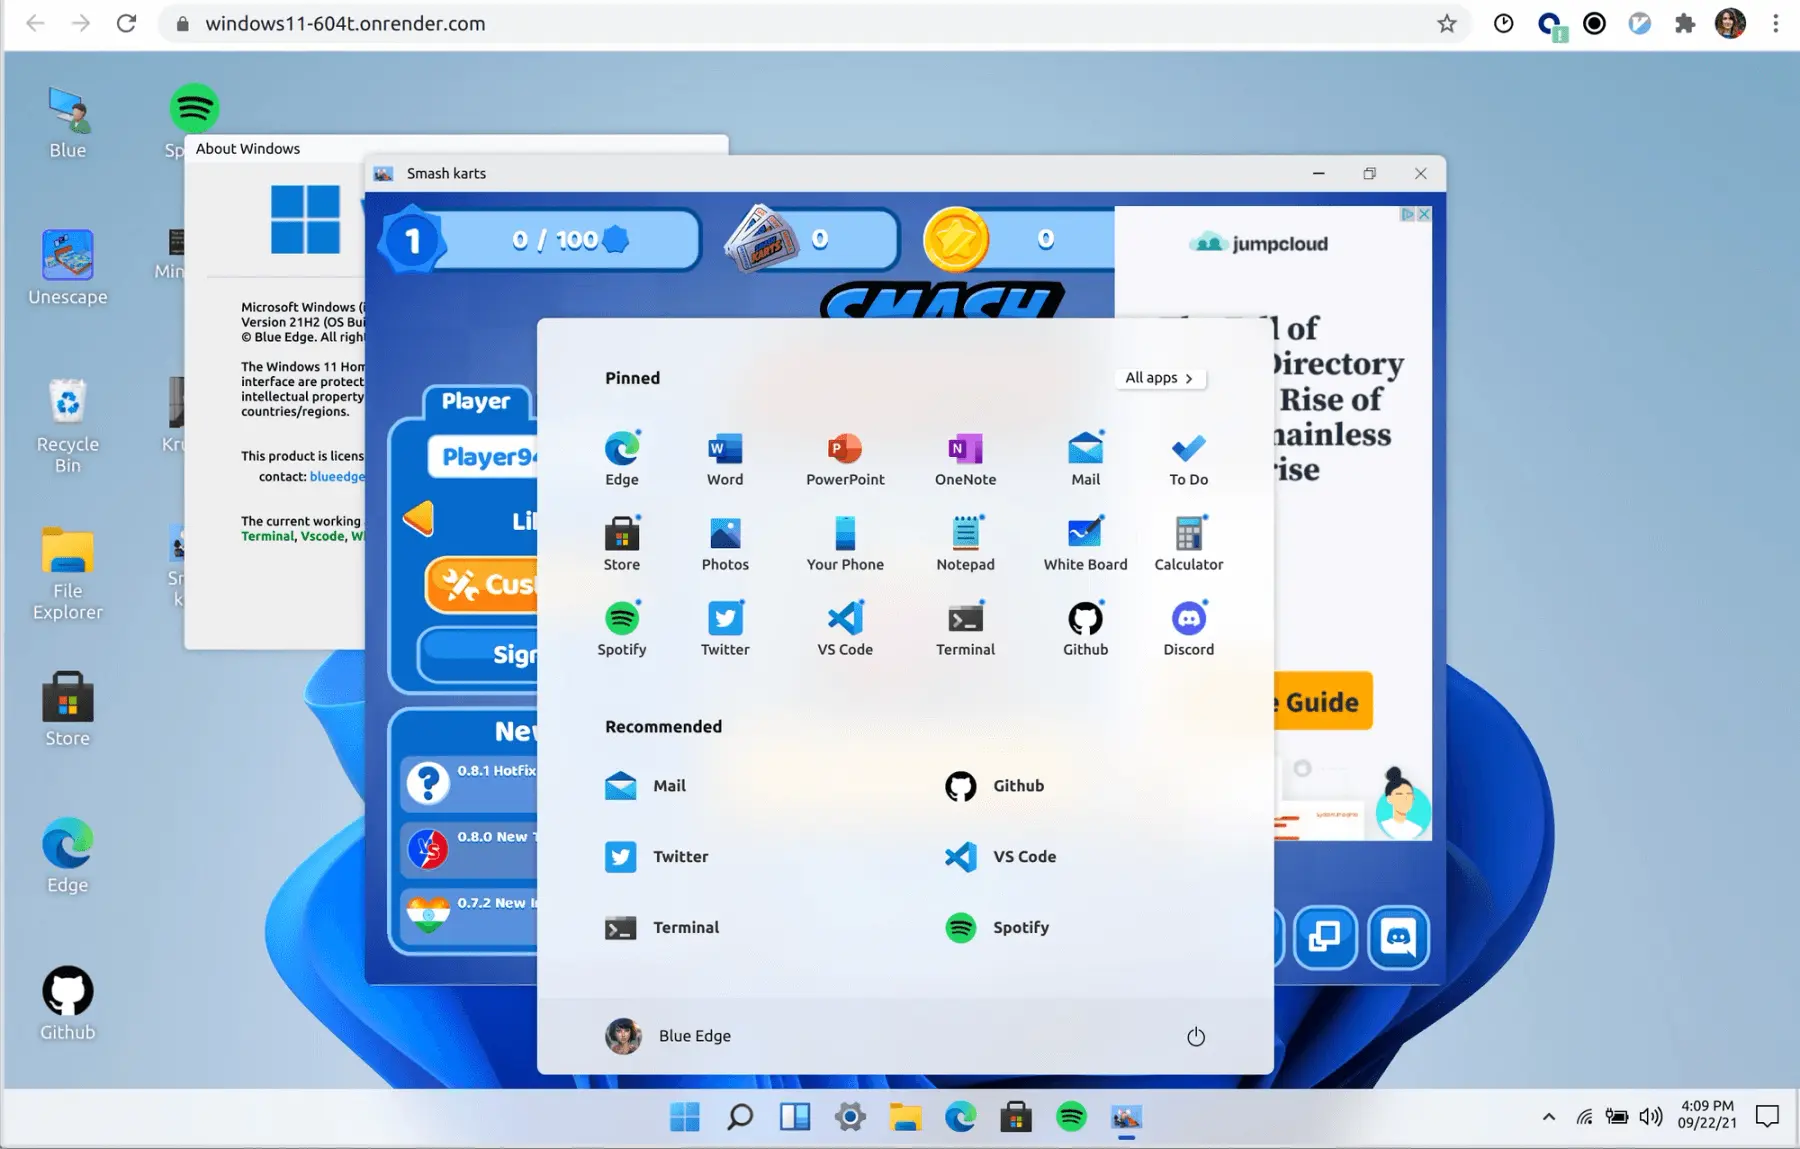
Lest I get discouraged, Render once again has my back. I can always fire up this (inexplicably popular) OSS project and enjoy technicolor dreams of Windows 11:


Enjoy our Render Examples and so much more when you start playing with our new instance types!