Continuing on the topic of adding password protection to your site, let’s look at using a reverse proxy server to password protect a service you have deployed to Render. The previous post on this topic covered adding password protection to a static site using PageCrypt. Now we’re expanding beyond static sites.
What’s the problem we’re trying to solve? Say you have an existing Ruby, Node.js, or Python web service (it could be one of our native environments or a Dockerized app), and you want to protect it with password authentication. Maybe you don’t want to touch the existing service’s code because it works well, and you’re concerned about inadvertently introducing a bug. Or perhaps you have multiple services to protect, and you don’t have time to implement password protection for each of them.
An interesting way to solve this problem is to put a reverse proxy in front of your existing web service(s).
What’s a reverse proxy server? It’s a server that acts as a gate and traffic cop guiding incoming traffic to the service that can respond to it. Typically that service is not exposed to the public internet. The scenario we’ll look at below shuttles web traffic between the public internet and a Render Private Service, which is protected from the public internet and only accessible to applications you own. NGINX and Apache are examples of general-purpose web servers that can also be used as reverse proxies, but there are many purpose-built ones like Træfɪk and Caddy.
Reverse proxies are commonly used for load balancing or TLS termination but Render already provides these features to you out of the box. In our scenario, we will deploy a reverse proxy specifically for authentication and authorization.
The reverse proxy we’re going to focus on in this post is called oauth2-proxy.
What is it good for?
- Adding social login to your site – i.e., login managed by another service like GitHub, Google, or one of the other fourteen supported OAuth providers
- Cases in which you can’t or don’t want to change the code of the web service you want to protect
- Maintaining clear separation between auth code and your web service code
- Language flexibility: your web service doesn’t need to be written in the same language as oauth2-proxy (which is written in Go).
What are the drawbacks?
- Deployed as an extra service, which has a cost (but you can use Render’s free plan)
- Configuration of OAuth can be confusing, but the oauth2-proxy documentation explains it well
What is it, and how does it work?
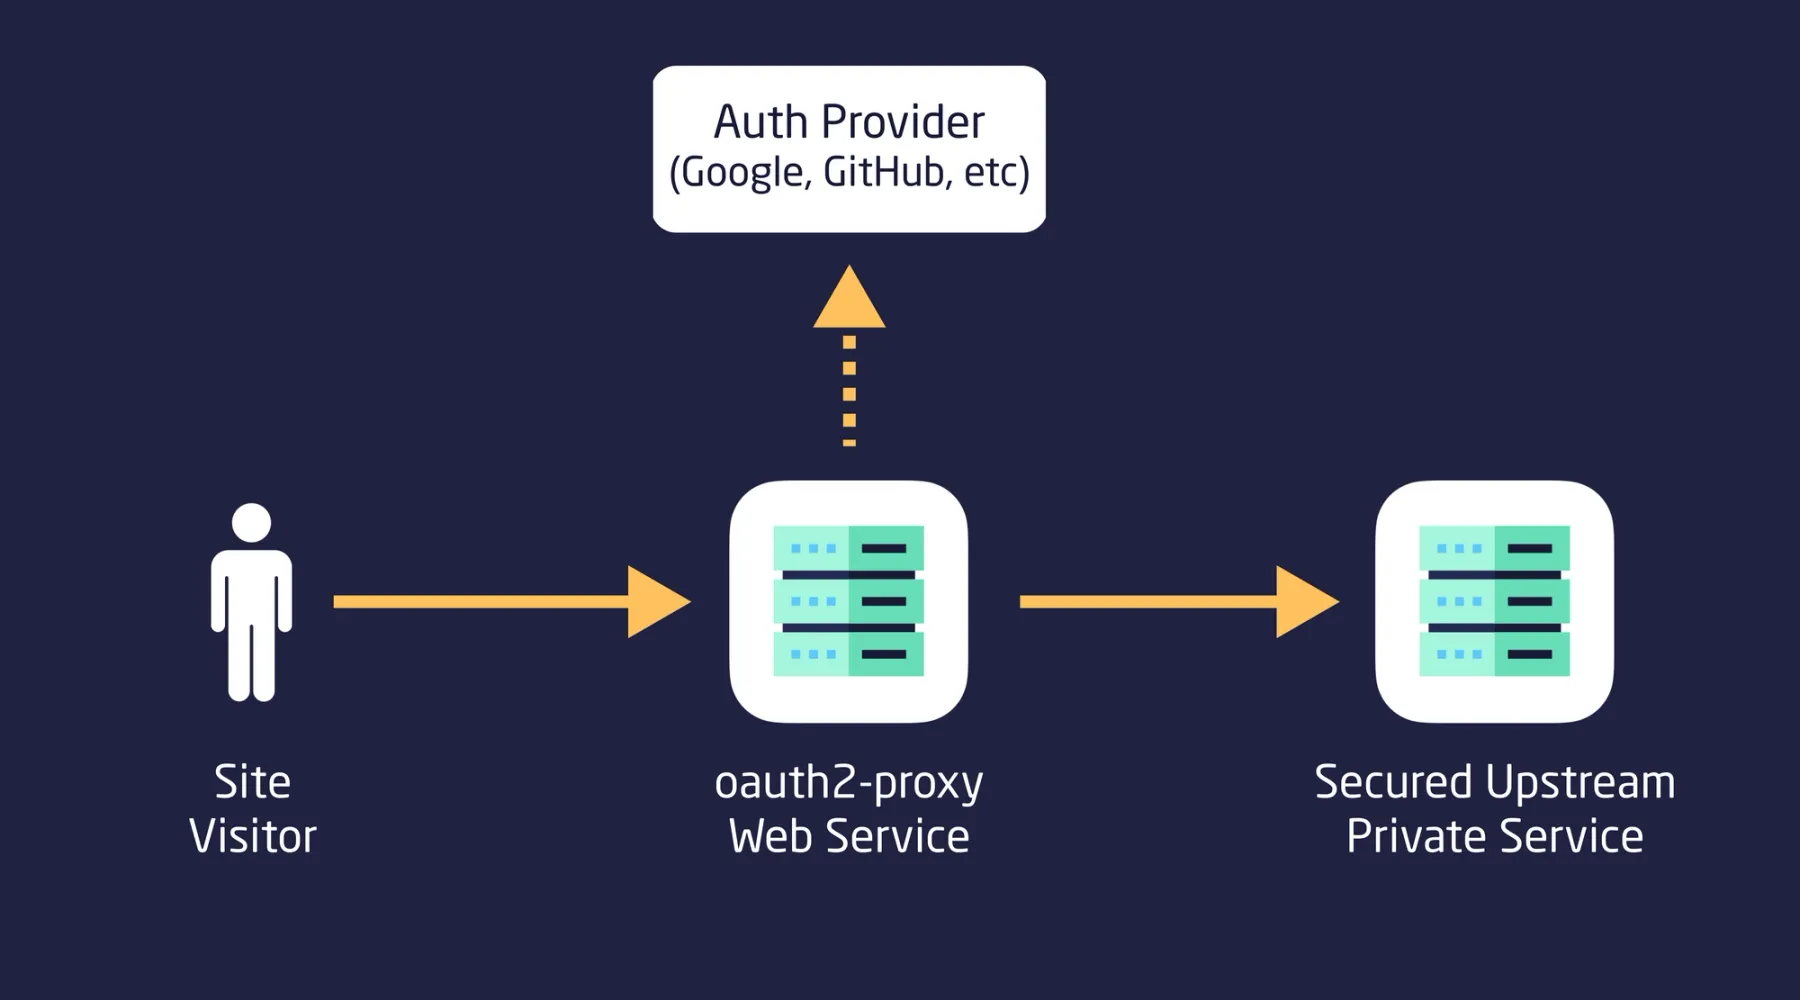
A coworker shared oauth2-proxy as part of a previous Render blog post, and I think it’s pretty cool. It does two things. First, it authenticates a user with an OAuth 2.0 flow. Then, after successful authentication, it acts as a reverse proxy, forwarding web requests to a Private Service behind it. The Private Service shouldn’t be exposed to the public internet, otherwise, the user will be able to access it without authenticating.
Are you wondering what OAuth 2.0 is, or do you need a refresher on it? (If not, you can skip to the diagram.) OAuth 2.0 is a standard defined by the IETF OAuth Working Group. It’s a ubiquitous authorization method that lets you delegate authentication and often authorization to another trusted service. For example, you can use Google to log in to the Render Dashboard.

OAuth 2.0 specifies a multi-step, production-hardened flow we can follow to allow Google to authenticate a user’s credentials and securely tell us that the user is, in fact, the owner of a specific email address, say, user@example.com.1 Armed with the fact that we confidently know this is user@example.com (and not sneakyblackhat@example.com pretending to be user@example.com), we can then show the user the resources they have access to — e.g., a web page, some data, or their daily New York Times crossword puzzle.
Quick detour: You may have noticed I’ve used two different words that begin with auth: authentication and authorization. People often confuse them or mean both when they say one.
So what’s the difference? Authentication verifies that a user is who they say they are. Authorization determines the user’s permissions within your app. In the example above, if a user logs in to Render with Google credentials, Google handles the authentication, assuring us the user is who they say they are. After the user is authenticated, Render needs to decide what services and teams to show them. We look up the services and teams they are authorized to manage — those created by them or shared with them by another Render user.
Traffic Flow

So how does oauth2-proxy work? Let’s look at the flow from the perspective of a user trying to access your app. Note that this flow is specific to oauth2-proxy, not a generic OAuth 2.0 flow.
- The browser makes an HTTP request to your site, which is directed to the oauth2-proxy service.
- oauth2-proxy responds, prompting the user to authenticate themselves with an OAuth 2.0 provider you’ve configured. In this example, we’ll assume it’s Google.2
- The browser is redirected to a Google login page.
- The user enters their credentials for Google to verify.
- Upon successful authentication, Google redirects the user back to your oauth2-proxy service along with a unique token — a query string parameter that Google refers to as an ID token.
- oauth2-proxy makes an HTTP request to Google containing the ID token along with a client ID and client secret that Google has uniquely assigned to your instance of oauth2-proxy. This step is a necessary part of the OAuth flow. A malicious user could spoof the request with a made-up ID token. This out-of-band request between oauth2-proxy and Google verifies the ID token was generated by Google from a recent login for this user.
- Google responds, verifying the validity of those three values and finally confirming to oauth2-proxy the user is who they say they are!
- By default, oauth2-proxy now authorizes all traffic from this user passing it to your Private Service. However, you can configure oauth2-proxy’s authorization rules in several ways. You can restrict access based on membership in a Google Group, GitHub org, or GitLab project. oauth2-proxy can also pass the username to the Private Service which can implement its own authorization logic.
Implementation
I forked the oauth2-proxy repository and made a few changes so that you can deploy a working example to Render for free.

Before the deployment starts, you’ll be asked for three values: an OAuth provider, client ID, and secret. The oauth2-proxy documentation explains how to generate a client ID and client secret using any one of fourteen supported OAuth providers.
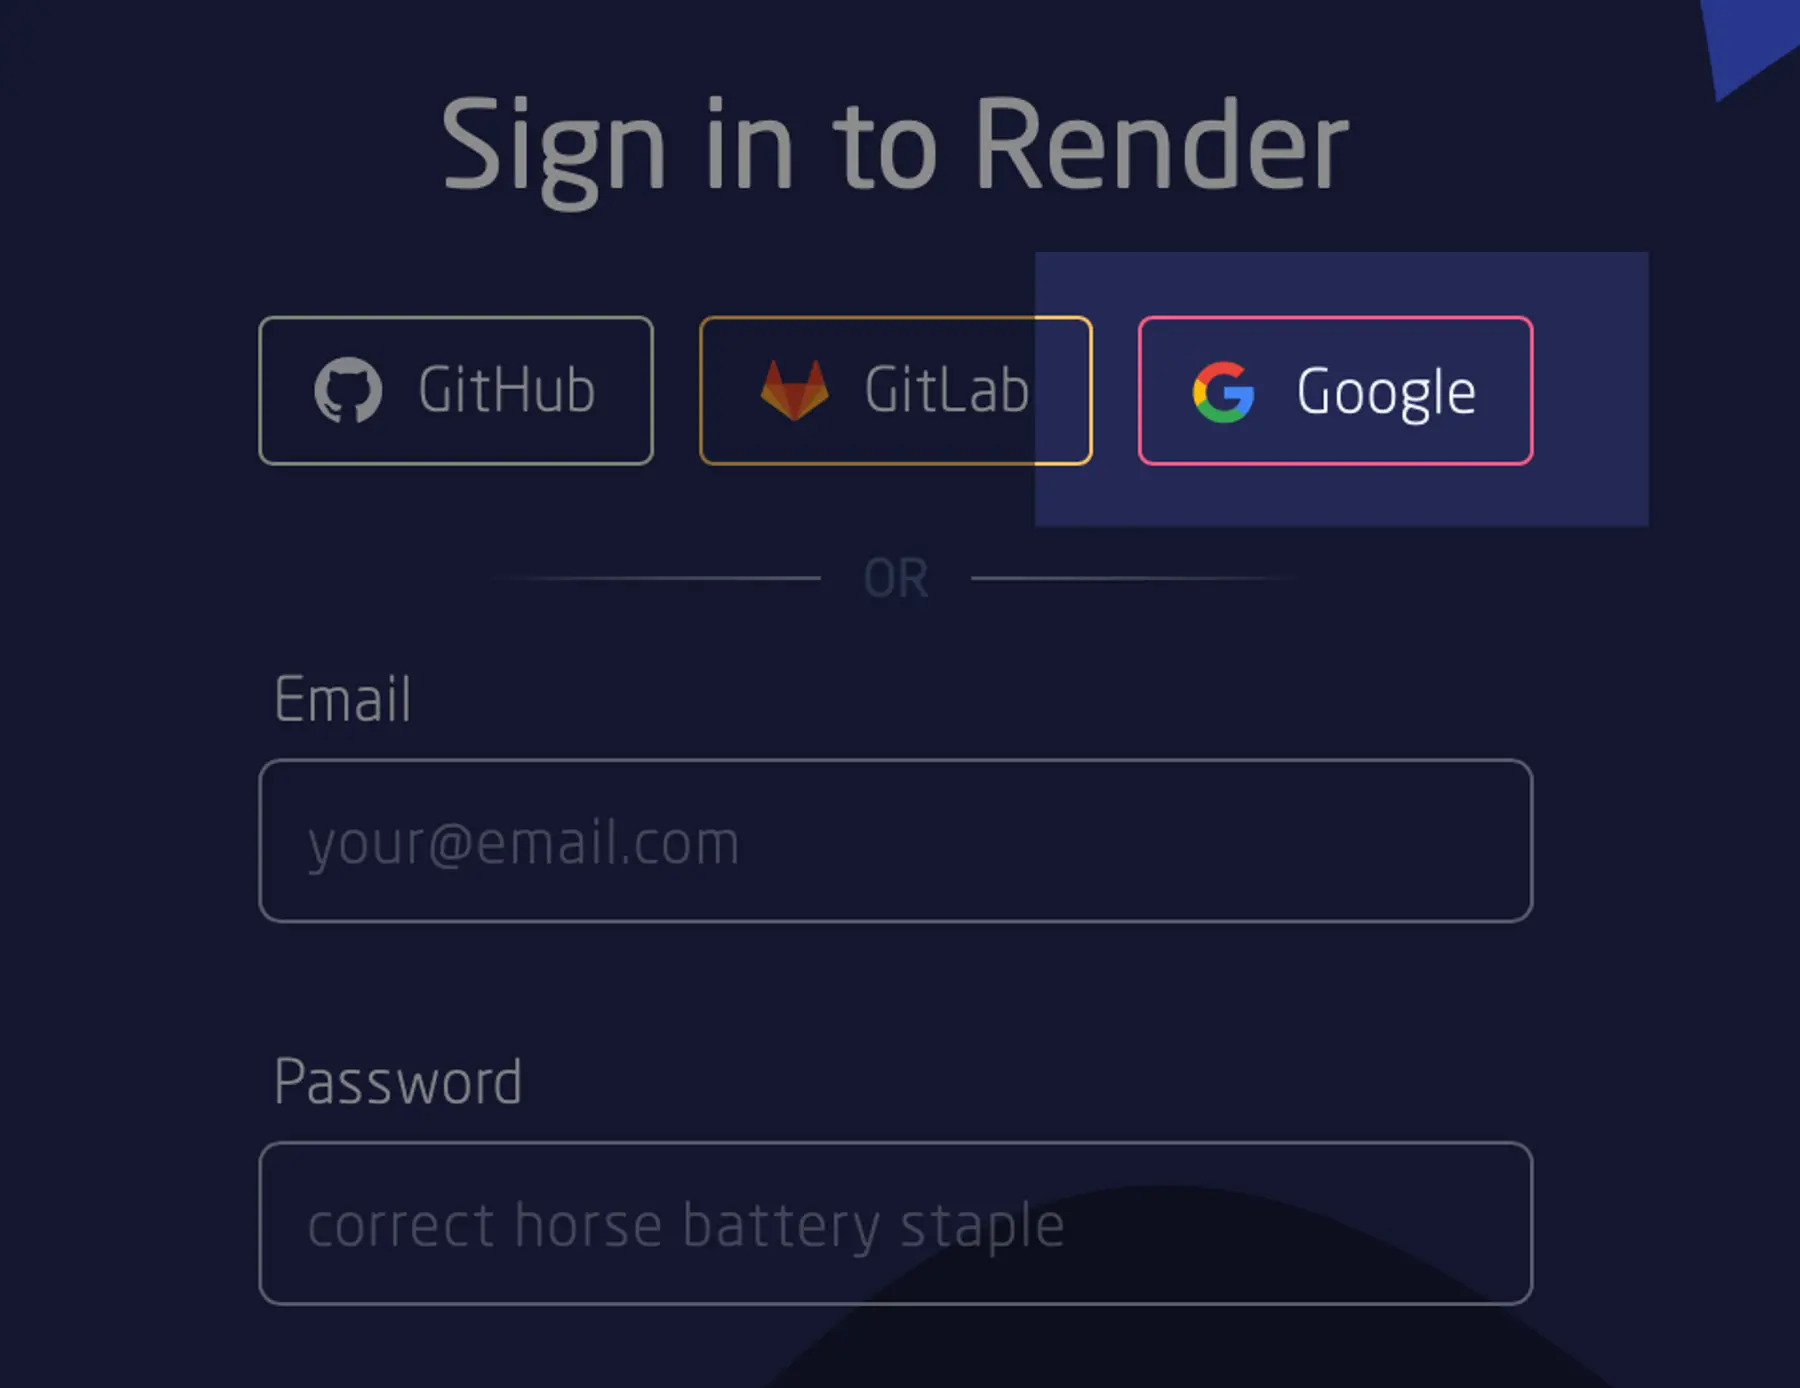
I’ve chosen Google as the OAuth provider for an example deployment. I'm using oauth2-proxy's default login screen, but you can customize its design. You’ll be prompted to Sign in with Google. After Google authenticates your credentials (which aren’t shared with me or Render), your requests will be proxied to a Node.js service deployed to Render as a Private Service. Private Services on Render are protected from the public internet and only accessible to applications you own. The oauth2-proxy service receives a request from your browser, passes it to the Node.js service, and then passes the Node.js service’s response back to your browser.
More to Explore
If oauth2-proxy doesn't suit your needs, there are some projects that have spun-off from oauth2-proxy like pomerium and BuzzFeed's sso. In addition to the open source library, Pomerium offers a paid service with a GUI to help IT staff more easily manage user permissions. BuzzFeed's sso builds upon oauth2-proxy by separating the domain used for auth from the domain used for the proxy (among several other changes).
If you're interestd in learning more about OAuth, there is ongoing work to evolve the OAuth 2.0 standard. OAuth 2.1 exists in a draft state, and GNAP is a new IETF Working Group developing "a next-generation protocol that encompasses many use cases that are challenging to implement with OAuth 2.0."
Are you using oauth2-proxy or another reverse proxy with password protection? Let me know what worked and didn't work for you! I'm curious to learn more, and I'm sure others will find it helpful to hear about your experience.
Footnotes
-
It doesn't necessarily have to be an email. It could be a username or a user ID or any other identifier. ↩
-
You could even deploy your own! ↩