- Quickstarts
- Redash
Deploy Redash
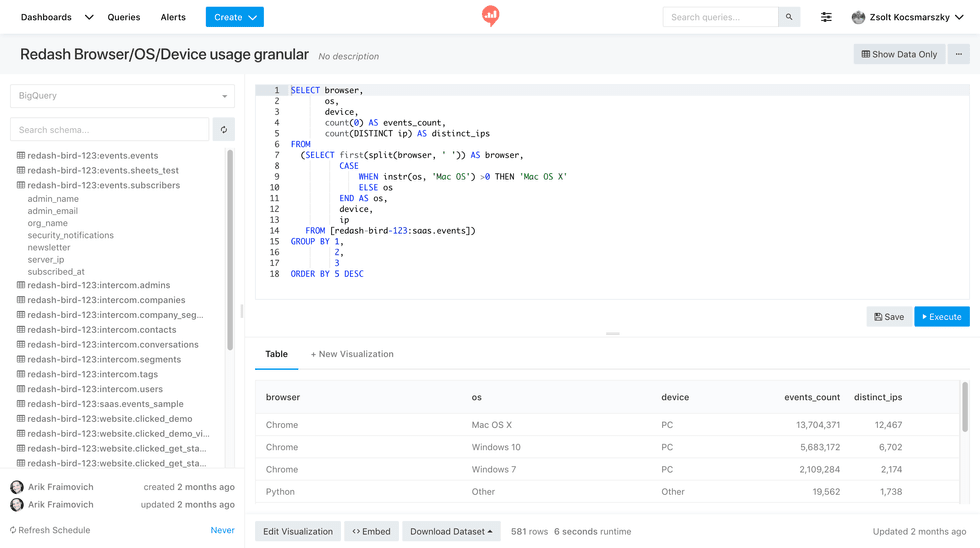
Redash is an open-source self-hosted platform for collaborative data querying and visualization. It’s quick to set up and it works with many popular data sources including Redshift, Google BigQuery, Google Spreadsheets, PostgreSQL, MySQL, and ElasticSearch.
The main features of Redash include:
- Browser-based and REST API: Redash runs fully in your browser, with a shareable URL for every view and a well-defined API.
- Query editor: You can quickly compose SQL and NoSQL queries with a schema browser and utilize autocomplete. You can also create snippets and reuse them.
- Visualization and dashboards: Redash allows you to create presentable visualizations with drag and drop. You can group your visuals into dashboards that can automatically update at regular intervals of your choosing.
- Alerts: You can define trigger conditions and be alerted instantly when your data changes.

You can host your Redash instance on Render in just a few minutes. Once it’s live, you will be able to connect to your data sources, build dashboards to visualize data, and share them with your team.
One-Click Deploy
Click Deploy to Render below to set up Redash on Render.
Execute the statement below in the Render Shell for your Redash service. This will initialize your database:
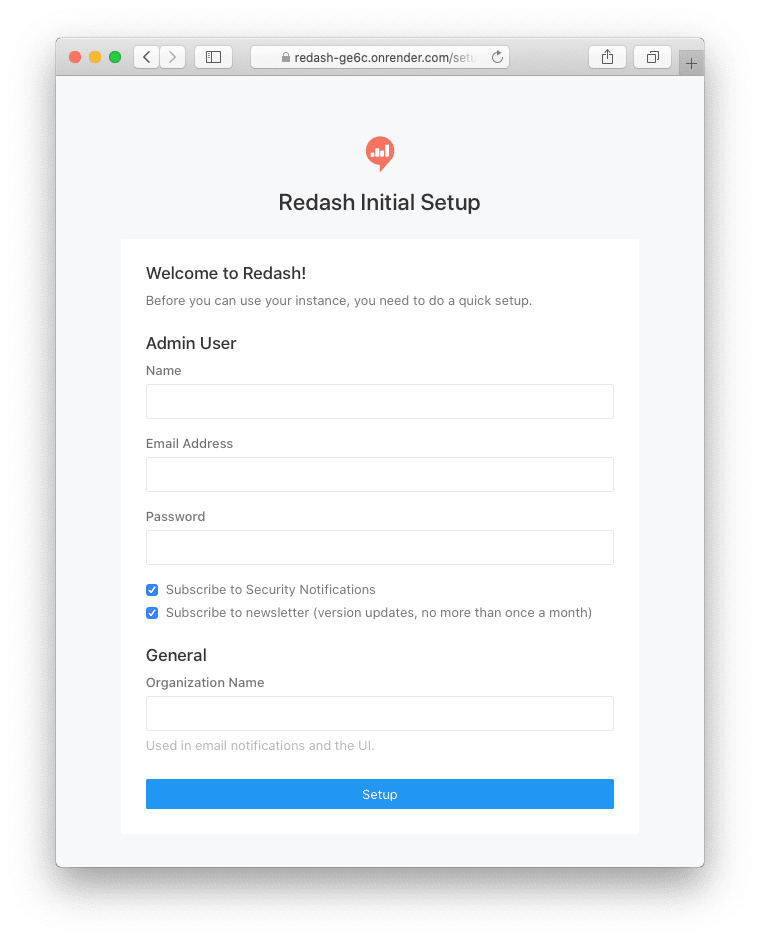
render-redash create_dbThat’s it! Visit your service available on your .onrender.com URL, fill in the basic information about your user account, and start using Redash on Render!
Manual Deployment
Create a Database
Create a new managed PostgreSQL instance on Render. The database should be up in a few minutes; wait for it to go live before moving to the next step.
Note your database internal database URL; you will need it later.
Create a Redis Instance
Create a new Redis instance using the Redis deployment guide and make note of the hostname and port.
Create an Environment Group
Create a new Environment Group named redash-shared and add the following environment variables to it:
| Key | Value |
|---|---|
REDASH_COOKIE_SECRET | Click Generate to get a secure random value |
REDASH_LOG_LEVEL | INFO |
Deploy the Redash Web Service
-
Fork render-examples/redash on GitHub or click
Use this template. Make sure to give Render’s GitHub app permission to access your new repository -
Start creating a new Web Service on Render using your new repo.
-
Pick a name for your Redash instance and make sure that the Language is set to
Docker. -
Select at least the Standard instance type. The Redash web server may exhaust the memory limit on starter instance types.
-
Add the following environment variables to the web service:
Key Value REDASH_DATABASE_URLYour internal database URL REDIS_HOSTPORTRedis hostname and port, for example: red-xxxxxxxxxxxxxxxxxxxx:6379 -
Under Advanced, set the Docker Command to
render-redash server. -
Click
Create Web Serviceto deploy your service. -
In your web service, under the Environment tab, link your shared configuration environment group with this service.
Create Redash Background Workers
Redash executes queries and other processing tasks outside its web server, using background services. For this, you have to create two Render Background Workers: a scheduler and a worker.
Scheduler
-
Create a new Background Worker on Render and select the same repository you used for the web service. Make sure the Language is set to
Dockerand pick a name for your Redash scheduler, e.g.redash-scheduler. -
Add the following environment variables to the background worker:
Key Value REDASH_DATABASE_URLyour internal database URL REDIS_HOSTPORTRedis hostname and port, for example: red-xxxxxxxxxxxxxxxxxxxx:6379QUEUESceleryWORKERS_COUNT1 -
Under Advanced, set the Docker Command to
render-redash scheduler. -
Click Create Background Worker to deploy your scheduler.
-
In your scheduler, under Environment, link your shared environment group with this service.
Worker
-
Now, create another Background Worker on Render and select the same repository you used for the web service and the scheduler.
-
Pick a name for your Redash worker, e.g.
redash-worker, and make sure that the Language is set toDocker. -
Add the following environment variables to the background worker:
Key Value REDASH_DATABASE_URLyour internal database URL REDIS_HOSTPORTRedis hostname and port, for example: red-xxxxxxxxxxxxxxxxxxxx:6379QUEUESqueries,scheduled_queries,schemas -
Under Advanced, set the Docker Command to
render-redash worker. -
Click Create Background Worker to deploy your worker.
-
In your worker, under Environment, link your shared environment group with this service.
Initialize the Database
To create and prefill the database tables necessary for Redash to operate, you will have to execute a special one-time command. Go to the Shell tab of your Redash web service and run the following command:
render-redash create_dbThat’s it! After about a minute, the script will finish running, and your Redash installation will be available on your .onrender.com URL. Go to https://your-subdomain.onrender.com, fill in the basic information about your user account, and start using Redash on Render!

Optional: Setting up Mailing
To allow Redash to send emails (user invites, password resets, alert triggers, and more), you will need to configure it with the mail server you use. Our one-click deploy has a template for this step that is commented out in its render.yaml file.
-
Create a new Environment Group named e.g.
redash-mailingand add the relevant environment variables (not all may be required for your use-case):Key Value REDASH_MAIL_SERVERSMTP server address REDASH_MAIL_PORTSMTP server port, default: 25REDASH_MAIL_USE_TLSdefault: falseREDASH_MAIL_USE_SSLdefault: falseREDASH_MAIL_USERNAMEdefault: NoneREDASH_MAIL_PASSWORDdefault: NoneREDASH_MAIL_DEFAULT_SENDERemail address to send from -
Link the newly created group to your Redash web service and your background workers.
